Ever wonder how dental crowns are made? We are here to walk you through the different steps involved in making a crown in a dental laboratory. If you need multiple crowns, the process from occlusal impression to final product can take 3-4 weeks or more.
In general, two to three dental visits are required to complete a traditional crown. After the first visit, the dentist sends impressions of the patient’s natural teeth to a laboratory where dental technicians make crowns. With advances in technology, crowns can also be fabricated in a day using modern CEREC/CAD-CAM techniques.
You can find a detailed discussion of both processes in this article. Here’s a step-by-step guide on how a dental technician prepares a crown for a smile makeover in the dental laboratory.
1. How is the crown made?
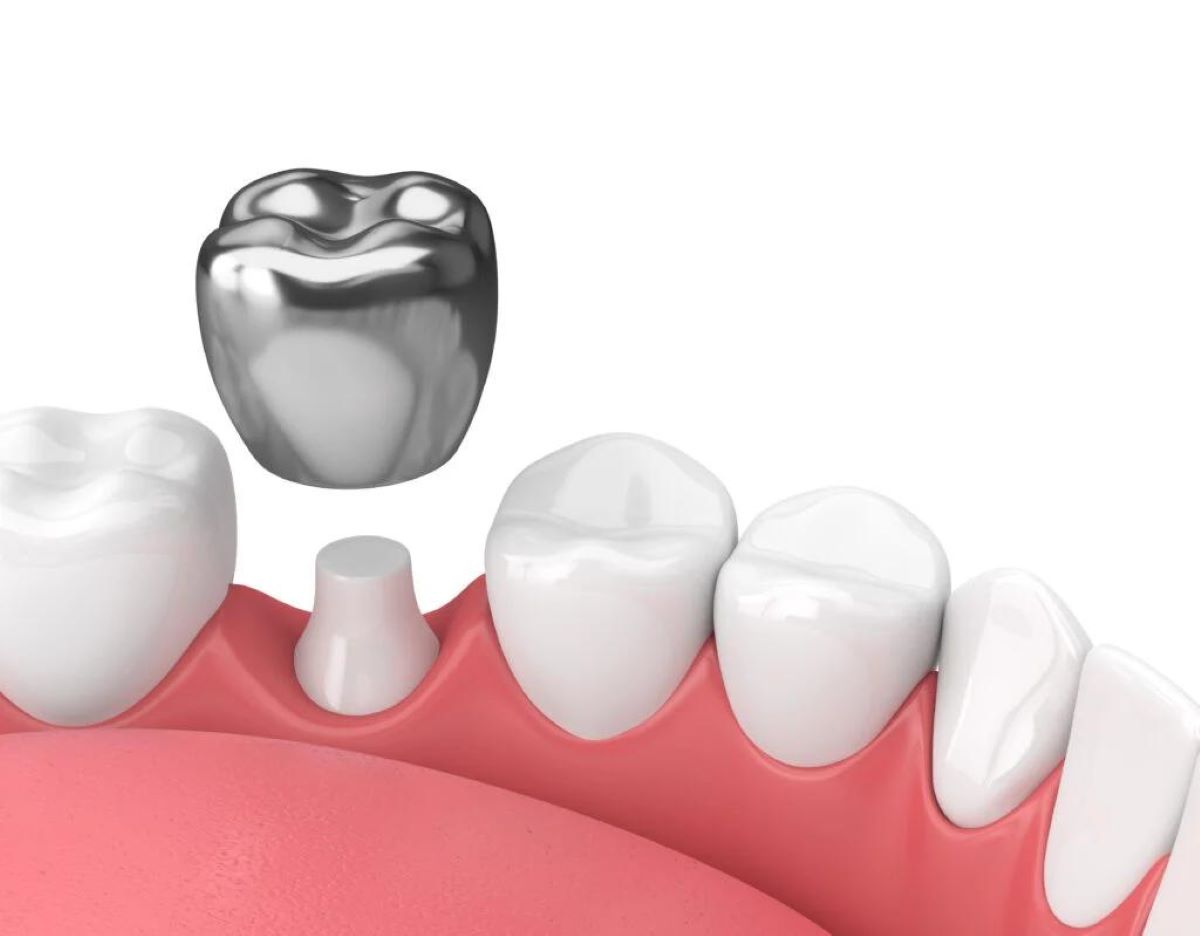
For a variety of reasons, the preparation of permanent crowns requires extensive planning and technical expertise. Your first appointment with your dentist determines how many crowns and what type of crowns you need. Popular options include all-ceramic crowns, metal, and resin. The dentist will also check for cavities and the need for root canal treatment before a crown can be placed. The first step is to fully evaluate the primary teeth to obtain a complete dental impression.
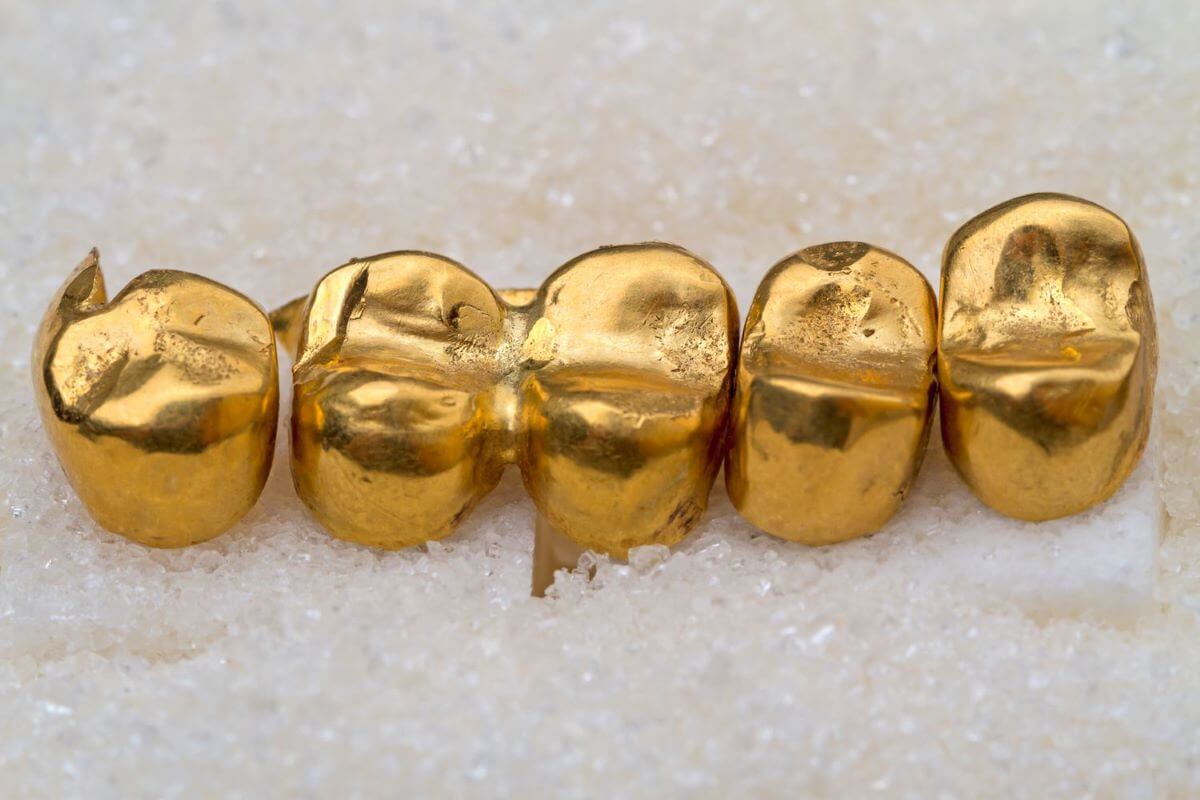
The impression (manual or digital) is forwarded to the dental laboratory, where a technician begins making the crown. Before the 18th century, only metal crowns such as stainless steel or gold crowns could be used to restore incisors. Today, however, ceramics, resins, and other crown materials are also readily available due to rapid advancements in dental technology.
There are two methods of making dental crowns in the laboratory:
- Traditional process: hot pressing or baking
- Modern technology: milling/CEREC or digital
Let’s get into the details!
2. Traditional process: hot pressing or baking
The oldest and most common procedure for making dental crowns is heat pressing or waxing. The process begins with an occlusal impression, which allows the dentist to take measurements of the teeth. From there the lab takes over and begins the mold creation process. Following is the rest of the process:
- tooth impression
- mold making
- Wax Modeling and Margin Making
- layered polishing process
1) Dental impression
Before the lab can start making crowns, they first need a full bite impression of the patient. Later, the dentist shaved the tooth to make room for the crown. A general rule for shaving tooth structures is 2-3 mm from all four sides. Impression paste contains gypsum powder (calcium sulfate hemihydrate) and water. This plaster allows the dentist to take quick and accurate impressions of the upper and lower teeth. Using a tray, technicians pour the mixture and quickly make a 3D impression before it hardens.
2) Mold making
Dental laboratories receive size and shape recommendations from clinics once impressions are ready. Note that the technician and dentist are in touch during this process. It allows two professionals to do their best for the patient.
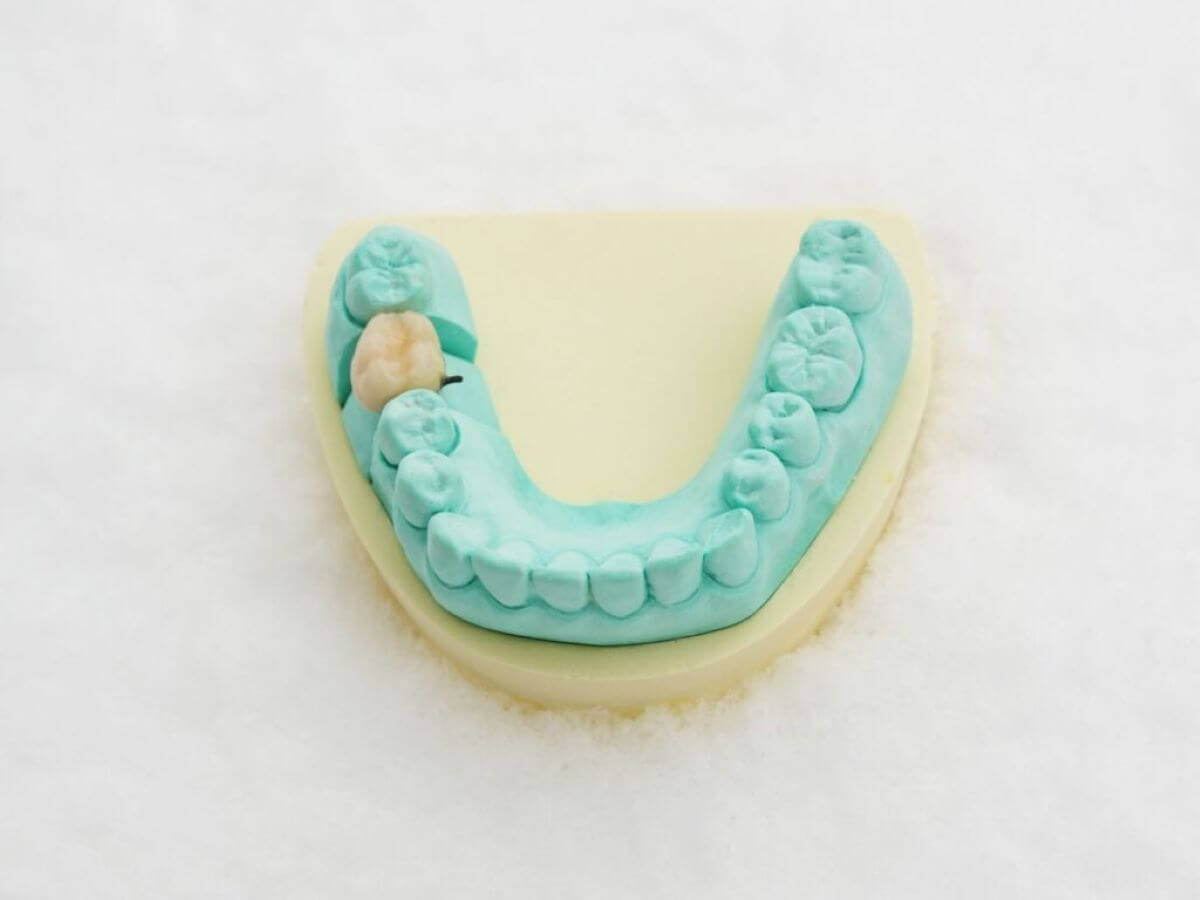
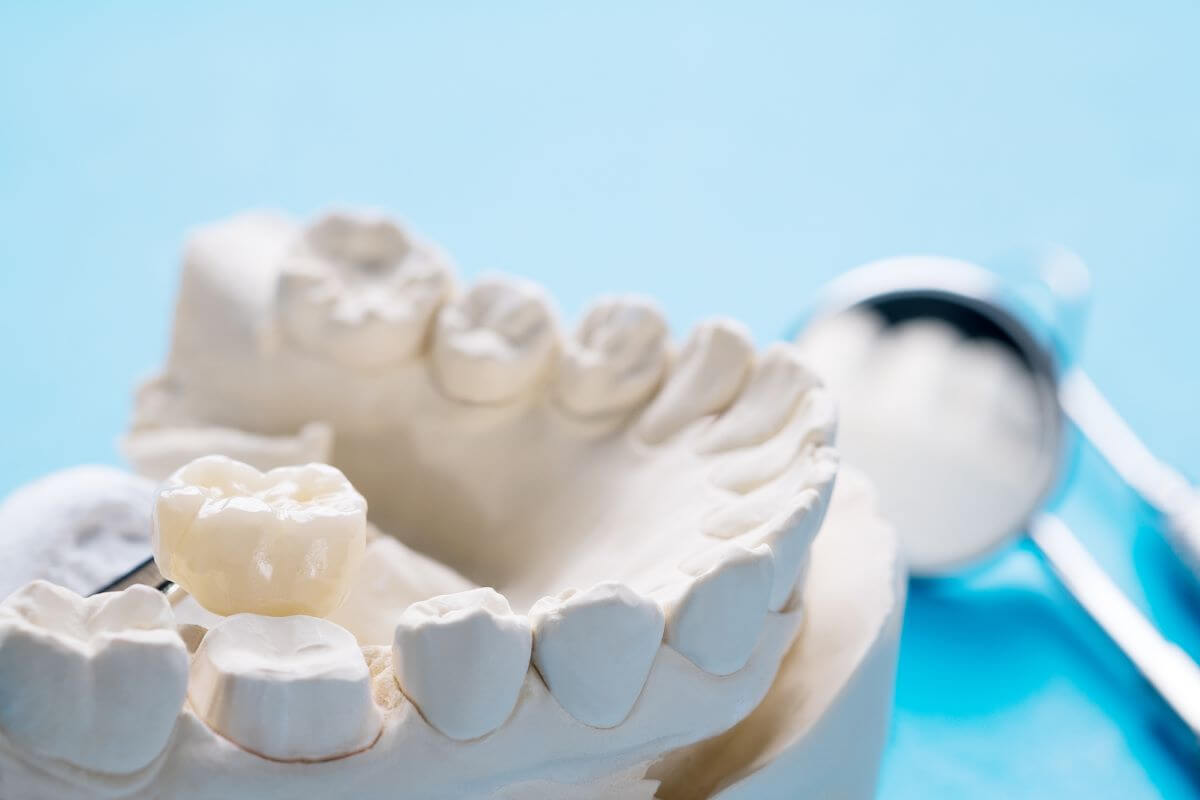
The next very important step is casting, which is another impression plaster for the dental technician. This mold is harder than the last one because it is used as a modeling plaster. The model plaster allows technicians to make changes quickly and easily. This is what dentists call a “model,” which replicates an entire set of teeth and is also used by dentists for research purposes. A “mold”, on the other hand, is a replica of the affected tooth separated from the tooth model.
3) Wax patterns and margin marks
After the full dental model is prepared, a wax-up or model of the tooth that needs a permanent crown will need to be made. In short, the pattern serves as a blueprint for proper fitting. The wax is hand-painted, or a technician dips it into a container full of wax to get a clean layer.
After the wax has cooled, the dental technician begins marking the pattern. For accurate installation and without any complications, it is necessary to mark every angle and point. Mold spacers allow the technician to mark the space between the crown and the original tooth. Marking this space is important because it allows the dentist to securely secure the crown with dental cement. Therefore, we can call it an attachment point.
After creating and marking the wax pattern, a technician pours the material of choice into it. For porcelain crowns, materials include lithium disilicate, zirconia, or other glass ceramics. Use a roaster or press to cure the material into the tooth shape. Once this process is complete, the technician will proceed with the layering process.
First impressions also led the technician to make another type of mold called an “investment. ” An embedding is a mold that resists high temperatures when the wax is melted in the casting furnace. Some materials require high temperatures to form, so investment plays a big role. Invest contains calcium phosphate, silicon dioxide, and certain other modifiers. Investments are available for single and multiple restorations in the laboratory.
4) Layered polishing process
The last step is because layering determines the final aesthetic of the crown. First, a qualified prosthodontist chooses the correct color for the patient to match the natural color of the teeth. We’ve shared the color standards for dental restorations so you can get an overview of the process. After the color is selected, the lab receives the relevant details and the technician begins the layering process.
Layering means building the tooth naturally with one layer of enamel and one or two layers of dentin. The process is complete after a coat of acrylic polymer is applied to give the crown a polished look. They added some finishing touches at the end for a natural color match to make the crown look as realistic as possible. Crowns need to blend in with your natural teeth to create a beautiful smile.
3. Milling/CEREC or Digital (Modern Craft)
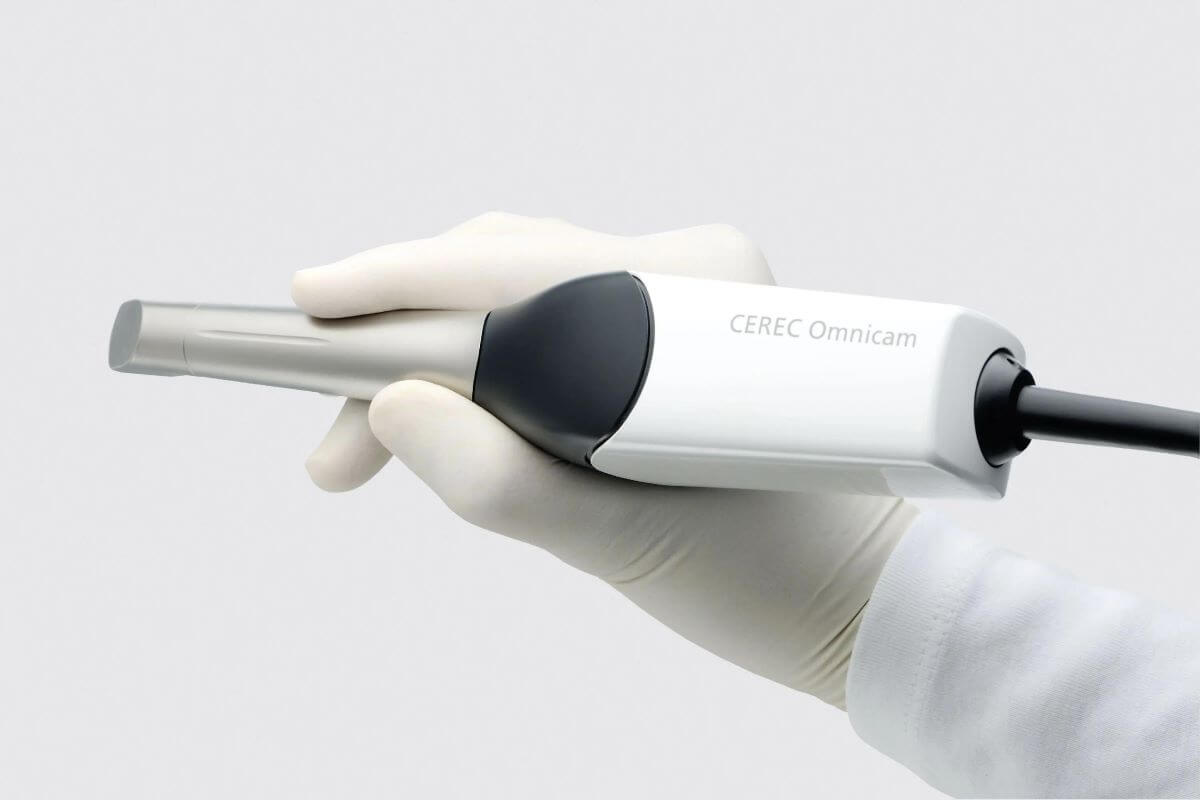
Advances in dental technology have allowed specialists to be faster and more accommodating. So today there are many ways to get a crown in one day. Many improvements are possible due to the integration of digital technology. Today we have CAD/CAM technology where dentists can quickly take digital impressions of teeth using intraoral scanners. These cameras allow dentists to take accurate impressions without having to rely on a dental lab for weeks. Milling or digitally manipulating crowns is simple. As we mentioned, only one visit to the dentist is required. Here’s how the process works:
- initial inspection/inspection
- Post-Assessment/Dental Preparation
- digital design
1) What is CEREC technology?
CEREC technology or aesthetic ceramic chairside economical restoration is a modern dental restoration method. This technique marks a revolution in dental technology as it allows for very rapid restorations. It is suitable for CAD/CAM technology or computer-aided design/computer-aided manufacturing. The system allows dentists to digitally plan and design crowns and other restorations, making the process much faster than before. How important are the aesthetics and fit of a crown?
The aesthetics and fit of a crown are two very important factors. They determine the feel and look of your crown. The ideal aesthetic of the crown makes it look natural and realistic. In terms of an ideal fit, there should be no bite issues and the profile should support the teeth.
2) Preliminary inspection/inspection
Getting a digitally designed crown can take a few hours or up to a day. The first step at the dentist is to take a digital scan of your teeth. The device includes an intraoral camera that allows dentists to access modifiable virtual 3D images. The dentist examines the tooth on screen after taking a complete digital impression of it.
3) 3D scanning and digital design:
After your teeth are prepared, your dentist will take a 3D scan of your mouth or area of interest. Dentists use a wand-like object with a camera on the end to take 3D images. Then, when imported into a computer, dentists can virtually design crowns on the digital software. They then send the design to a milling machine, which creates a crown from the design. It’s a quick and hassle-free process, and you don’t need to worry about any modifications. In case something goes wrong, the process can be repeated without waiting too long. The main goal is to achieve accuracy and ensure the correct type of crown. If you have any questions about CAD/CAM technology and how crowns are handled in our clinic, please contact us here.
4) What is the difference between pressing/waxing and milling methods?
The main difference between baked/pressed/waxed and ground crowns is their preparation process. Pressed or baked crowns have a manual process where labor and expertise are required. From occlusal impressions to crown stratification, an experienced dental technician is the key here. However, milling crowns is much faster and with automatic methods. Humans are also important in this process, but since computers do most of the work, there is minimal intervention. The placement time of the two types of crowns is also different. Baked or pressed crowns take at least one to two weeks to prepare; ground ones can be prepared and applied in as little as a day.
4. Frequently Asked Questions About How To Make A Crown
Listed below are some frequently asked questions. We asked our team some common questions people are asking about Crown Creations, so here are some of them.
1) Will the dentist make crowns?
Yes, with advancements in dental technology, you can expect dentists to make crowns in their offices. CEREC technology or CAD/CAM technology allows dentists to make permanent crowns and install them on the same day. The manual method of making a crown involves hot pressing in a dental laboratory or baking in a heated oven. Dental laboratories are as important as modern dental technology as they allow for easy modifications and increased accuracy of restorations.
2) How is the crown made today?
In this day and age, there are both handmade and digitally made. Dental laboratories make hot-pressed or baked crowns for dental offices and their patients. As the technology in the dental laboratory is also constantly evolving, you can look forward to having a dental crown on hand in just a few days. CEREC is a digital technology that allows dentists to mill tooth crowns in minutes. The entire process from review, and planning to create is digital and therefore more convenient.
3) How are ceramic crowns made?
Ceramic crowns are ideal for tooth restoration because they last for a long time. Most all-ceramic crowns are hot pressed or baked in the dental laboratory. However, CEREC technology can now also be used to make ceramic crowns. With CEREC or CAD/CAM technology, you can get a crown in one go at the dentist’s office. If you’re looking for a high-standard and hassle-free dental service from start to finish, here’s what you can expect:
4) Where are the crowns made?
Dental offices have dental laboratories where dental restorations, including crowns, can be made. Today, however, with advances in technology, digital fabrication and machining of dental crowns are also possible. Today, many dental practices offer both traditional and modern techniques. Traditionally, dental impressions are sent to a laboratory, where a step-by-step process is followed. However, modern technology requires a different type of crown to be made in an automatic milling machine called a CEREC.
5) What are modern dental crowns made of?
CEREC or CAD/CAM technology allows the fabrication and design of dental crowns on digital software. It only takes two days to apply these crowns. Everything from dental impression to application is performed in-office with minimal time.
6) Are traditional pressed crowns better or new-age milled crowns better?
It depends on your priorities. If time is an important factor, CEREC crowns are right for you. They are fast and take a while to get. However, if the quality and durability of your crown are also important, traditional crowns are the more popular choice. CEREC crowns may be faster but are not as durable as traditional crowns.
